
Storyboard
Give it a short idea — the AI writes the story, splits it into cuts and suggests the prompts for every cut, all in one go. From there one board on your canvas carries the whole video: cut images, clips and the final join.
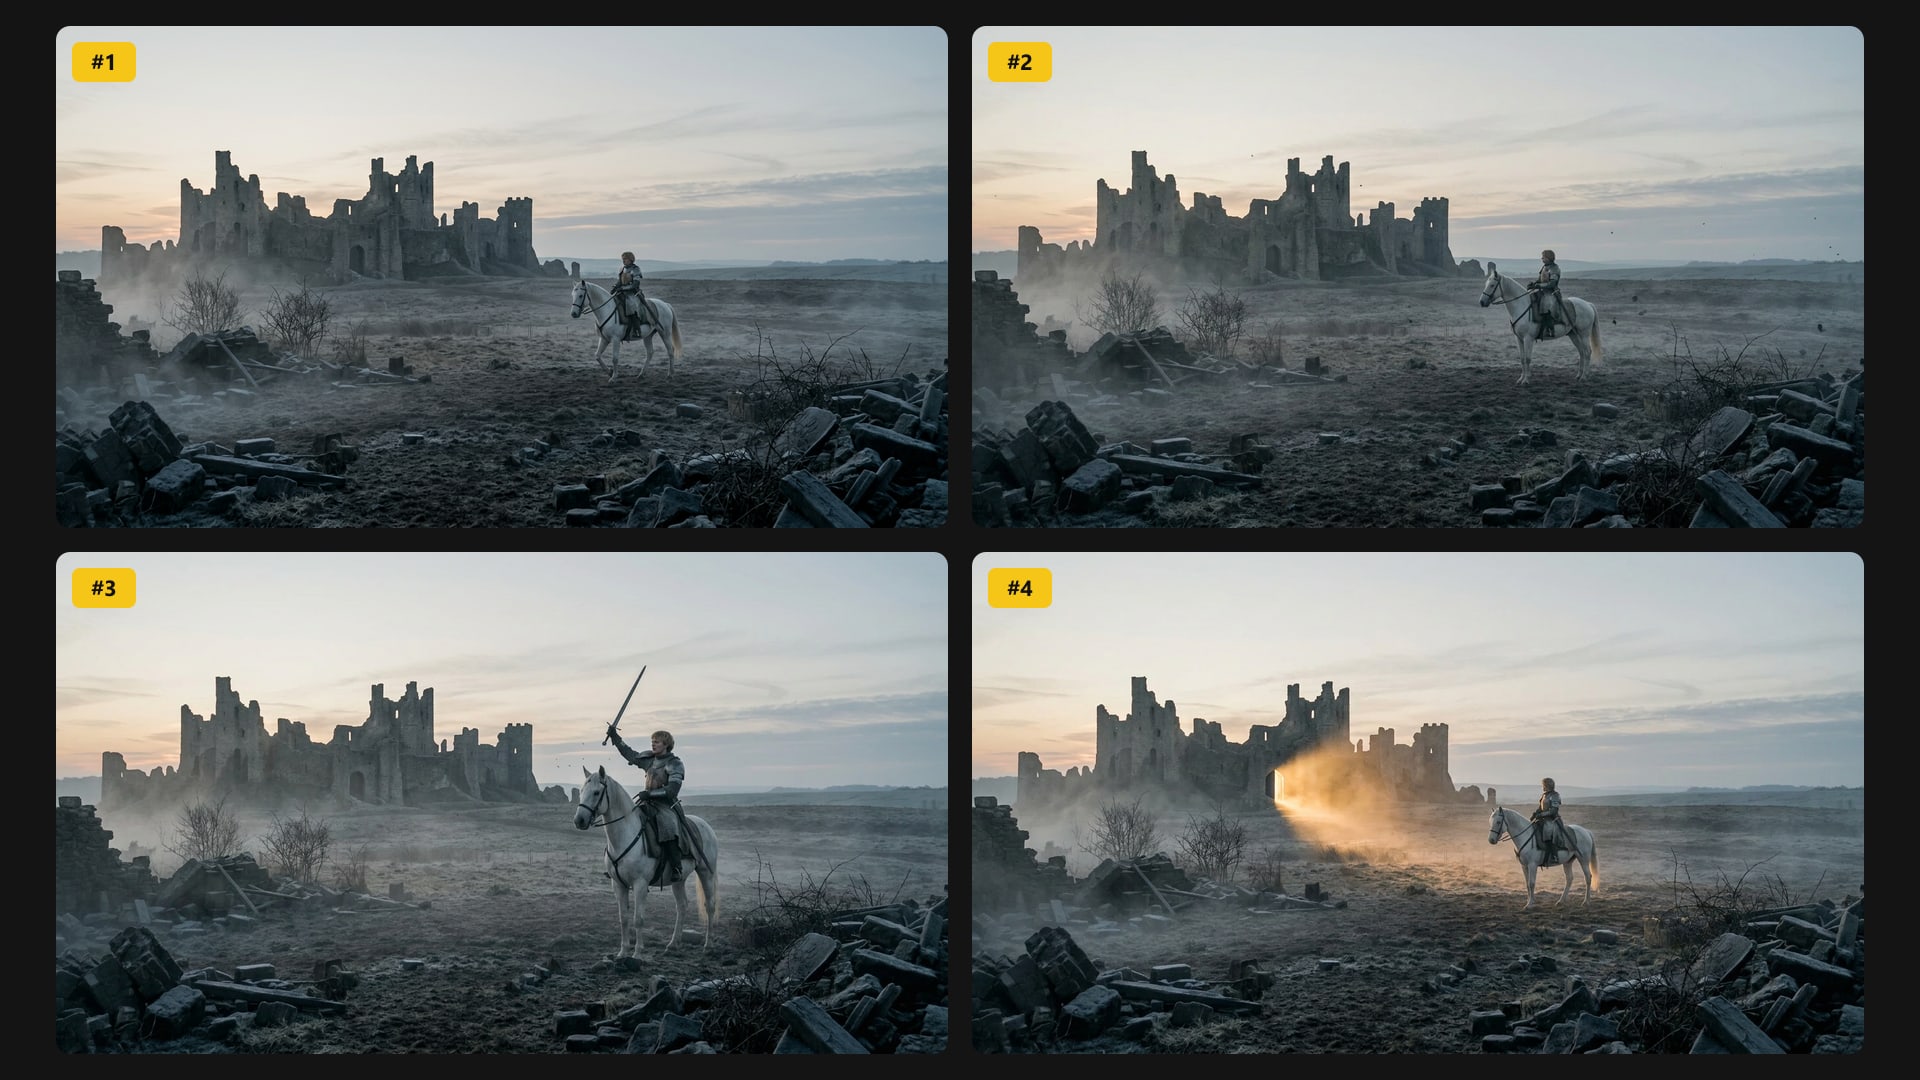
One workflow: Idea → Story & cuts → Cut images → Clips → One video. The button on the board always shows the next step.
Start a storyboard
Images, clips, join
The button on the board always names the next step — Review prompts, Make cut images, Make clips, Join clips — and moves on when the generation finishes.
Edit a cut
Double-click a cut to open its prompts: the image prompt draws the cut’s picture, the video prompt sets the motion and camera of its clip.
- Regenerate remakes this cut only. The old image moves next to the board — it is never deleted.
- Edit this image takes a short instruction (“make her smile”, “turn it into a rainy night”). @Name sends that cast member’s picture too.
- Replace image — pick a file, or drag a canvas image, an Explorer file or a web image onto the cell.
- Background, camera and length chips set where the cut takes place, its camera move and its clip length.
- Reorder by dragging the cut’s top row (#), or long-press the image to lift it.
Make clips
Make clips opens the clip panel. Pick a mode, a range (all cuts, from this cut, this cut only) and a video model. The cost is shown before anything starts.
| Mode | What it makes |
|---|---|
| Each cut | One clip starting on each cut’s frame. |
| Between cuts | A clip from this cut’s frame to the next one. The last cut gets a single-frame clip. |
| Continue from the previous scene | Cuts one after another, each starting from the previous clip’s last frame. With Veo 3.1 on Agent Platform (Vertex AI) or FLUX 3 Video, “Extend the same shot” lengthens the previous clip instead. |
| One multi-shot clip | One clip for the whole board, with the cut frames as reference images — up to the model’s limit. |
Continue cut by cut
Turn on Continue from previous clip on the board and the video flows as one take. Only cut 1 gets an image up front; every later cut starts from the last frame of the clip before it, so the motion carries straight on. Taking that frame costs nothing.
Join into one video
With two or more clips, Join clips puts them together in cut order. The final video lands under the storyboard — trim and reuse it like any other clip.